Connect a footswitch
When working in a manufacturing environment, it’s always better for an operator to have both hands available at all times. Odoo’s IoT box makes this possible when using a footswitch.
In fact, with a footswitch, the operator is able to go from one screen to another, and perform actions using their foot. This can be configured in just a few steps on the work center in the Manufacturing app.
Connection
To connect a footswitch to the IoT box, connect the two devices via cable. More often than not, this is done with a USB cable.
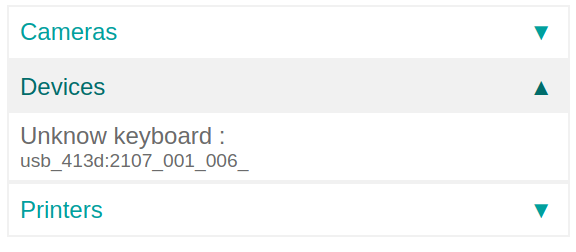
If the footswitch is a supported device, there is no need to take further action, since it’ll be automatically detected when connected.
Link a footswitch to a work center in the Odoo Manufacturing app
To link a footswitch to an action, it first needs to be configured on a work center. Navigate to . From here, go to the desired Work Center in which the footswitch will be used, and add the device in the IoT Triggers tab, under the Device column, by selecting Add a Line. Doing so means the footswitch can be linked to an option in the Action column drop-down, and optionally, a key can be added to trigger it. An example of an Action in the Manufacturing app could be the Validate or Mark as Done buttons on a manufacturing work order.
Important
Triggers are executed in the order they appear, with the first one taking priority. To reorder the triggers, click the (draggable) icon to the left of each trigger, and drag it to the desired position.
Tip
To identify the key assigned to each pedal, connect the footswitch to any computer and press the pedals as if typing. Usually, the pedals are mapped by default to the keyboard keys
a,b, andc.The Work Order list includes a status indicator that shows whether the database is successfully connected to the footswitch.
See also